1. Home
  2. Projects
  3. Bathroom Tub Surround Replacement and Drywall Repair on Bainbridge Island
Bathroom Tub Surround Replacement and Drywall Repair on Bainbridge Island
Bathroom Tub Surround Replacement and Drywall Repair on Bainbridge Island image
Gallery photos for Bathroom Tub Surround Replacement and Drywall Repair on Bainbridge Island: Image #1Gallery photos for Bathroom Tub Surround Replacement and Drywall Repair on Bainbridge Island: Image #2Gallery photos for Bathroom Tub Surround Replacement and Drywall Repair on Bainbridge Island: Image #3Gallery photos for Bathroom Tub Surround Replacement and Drywall Repair on Bainbridge Island: Image #4Gallery photos for Bathroom Tub Surround Replacement and Drywall Repair on Bainbridge Island: Image #5Gallery photos for Bathroom Tub Surround Replacement and Drywall Repair on Bainbridge Island: Image #6Gallery photos for Bathroom Tub Surround Replacement and Drywall Repair on Bainbridge Island: Image #7Gallery photos for Bathroom Tub Surround Replacement and Drywall Repair on Bainbridge Island: Image #8Gallery photos for Bathroom Tub Surround Replacement and Drywall Repair on Bainbridge Island: Image #9Gallery photos for Bathroom Tub Surround Replacement and Drywall Repair on Bainbridge Island: Image #10Gallery photos for Bathroom Tub Surround Replacement and Drywall Repair on Bainbridge Island: Image #11Gallery photos for Bathroom Tub Surround Replacement and Drywall Repair on Bainbridge Island: Image #12Gallery photos for Bathroom Tub Surround Replacement and Drywall Repair on Bainbridge Island: Image #13Gallery photos for Bathroom Tub Surround Replacement and Drywall Repair on Bainbridge Island: Image #14Gallery photos for Bathroom Tub Surround Replacement and Drywall Repair on Bainbridge Island: Image #15Gallery photos for Bathroom Tub Surround Replacement and Drywall Repair on Bainbridge Island: Image #16Gallery photos for Bathroom Tub Surround Replacement and Drywall Repair on Bainbridge Island: Image #17Gallery photos for Bathroom Tub Surround Replacement and Drywall Repair on Bainbridge Island: Image #18Gallery photos for Bathroom Tub Surround Replacement and Drywall Repair on Bainbridge Island: Image #19Gallery photos for Bathroom Tub Surround Replacement and Drywall Repair on Bainbridge Island: Image #20Gallery photos for Bathroom Tub Surround Replacement and Drywall Repair on Bainbridge Island: Image #21Gallery photos for Bathroom Tub Surround Replacement and Drywall Repair on Bainbridge Island: Image #22Gallery photos for Bathroom Tub Surround Replacement and Drywall Repair on Bainbridge Island: Image #23Gallery photos for Bathroom Tub Surround Replacement and Drywall Repair on Bainbridge Island: Image #24

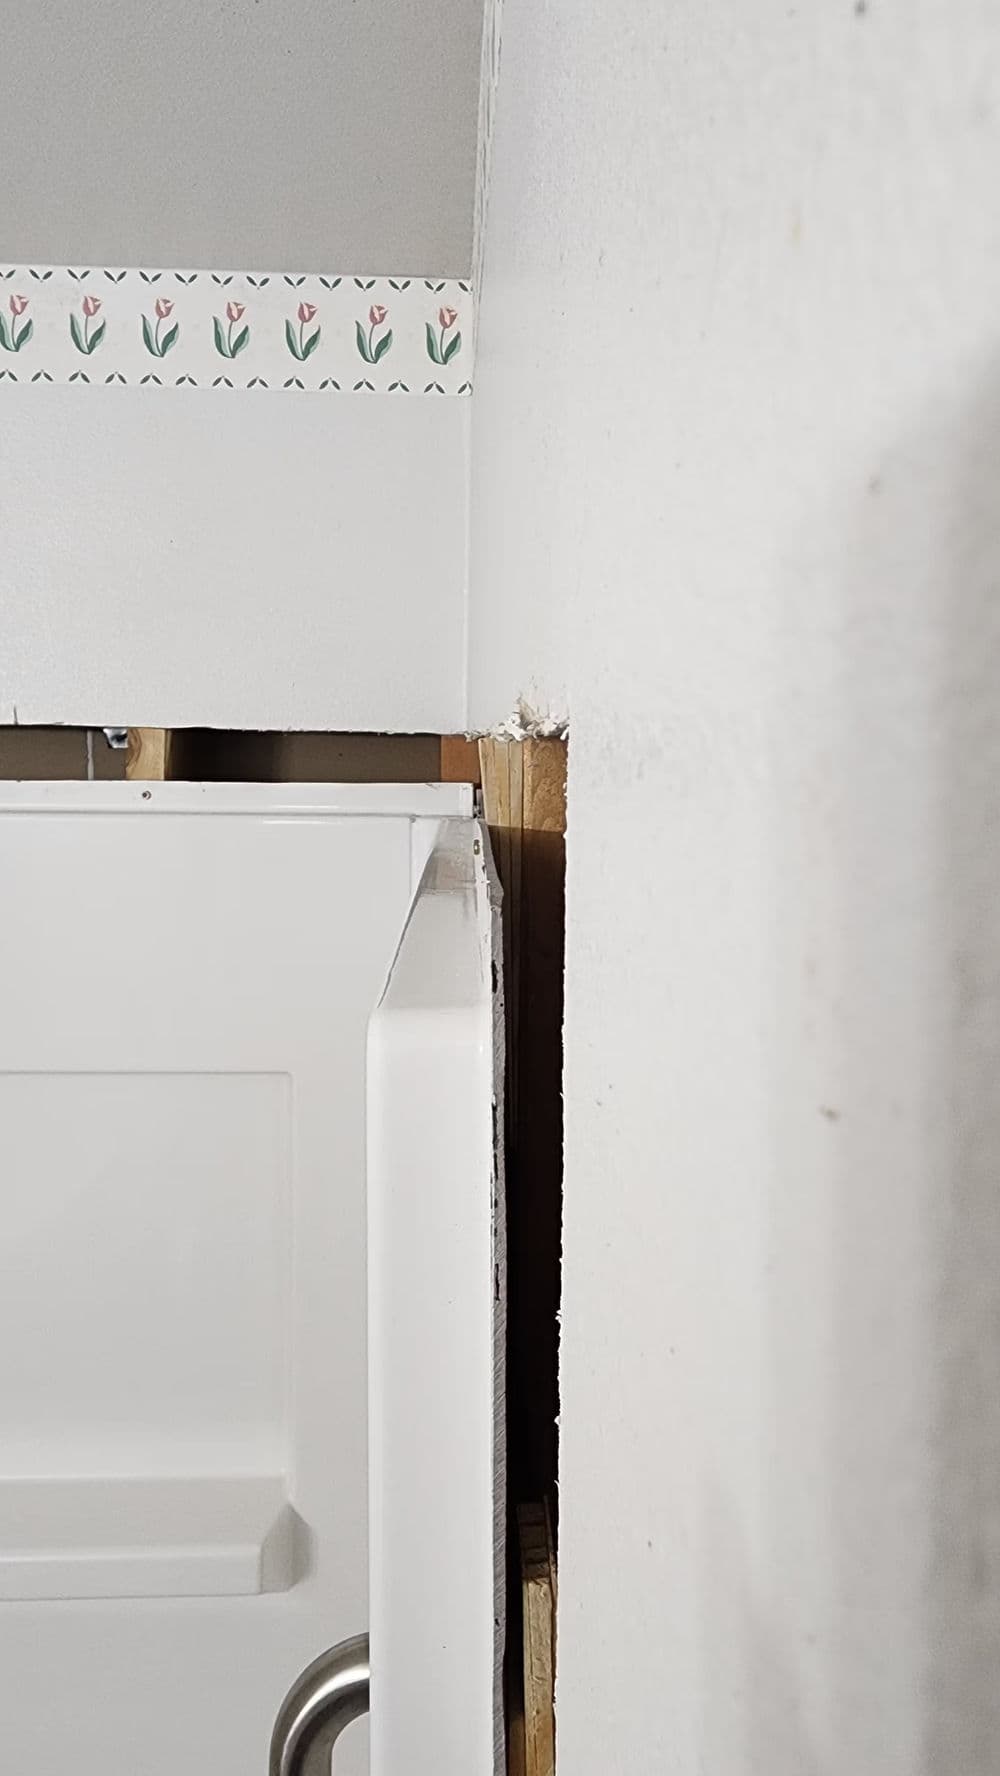
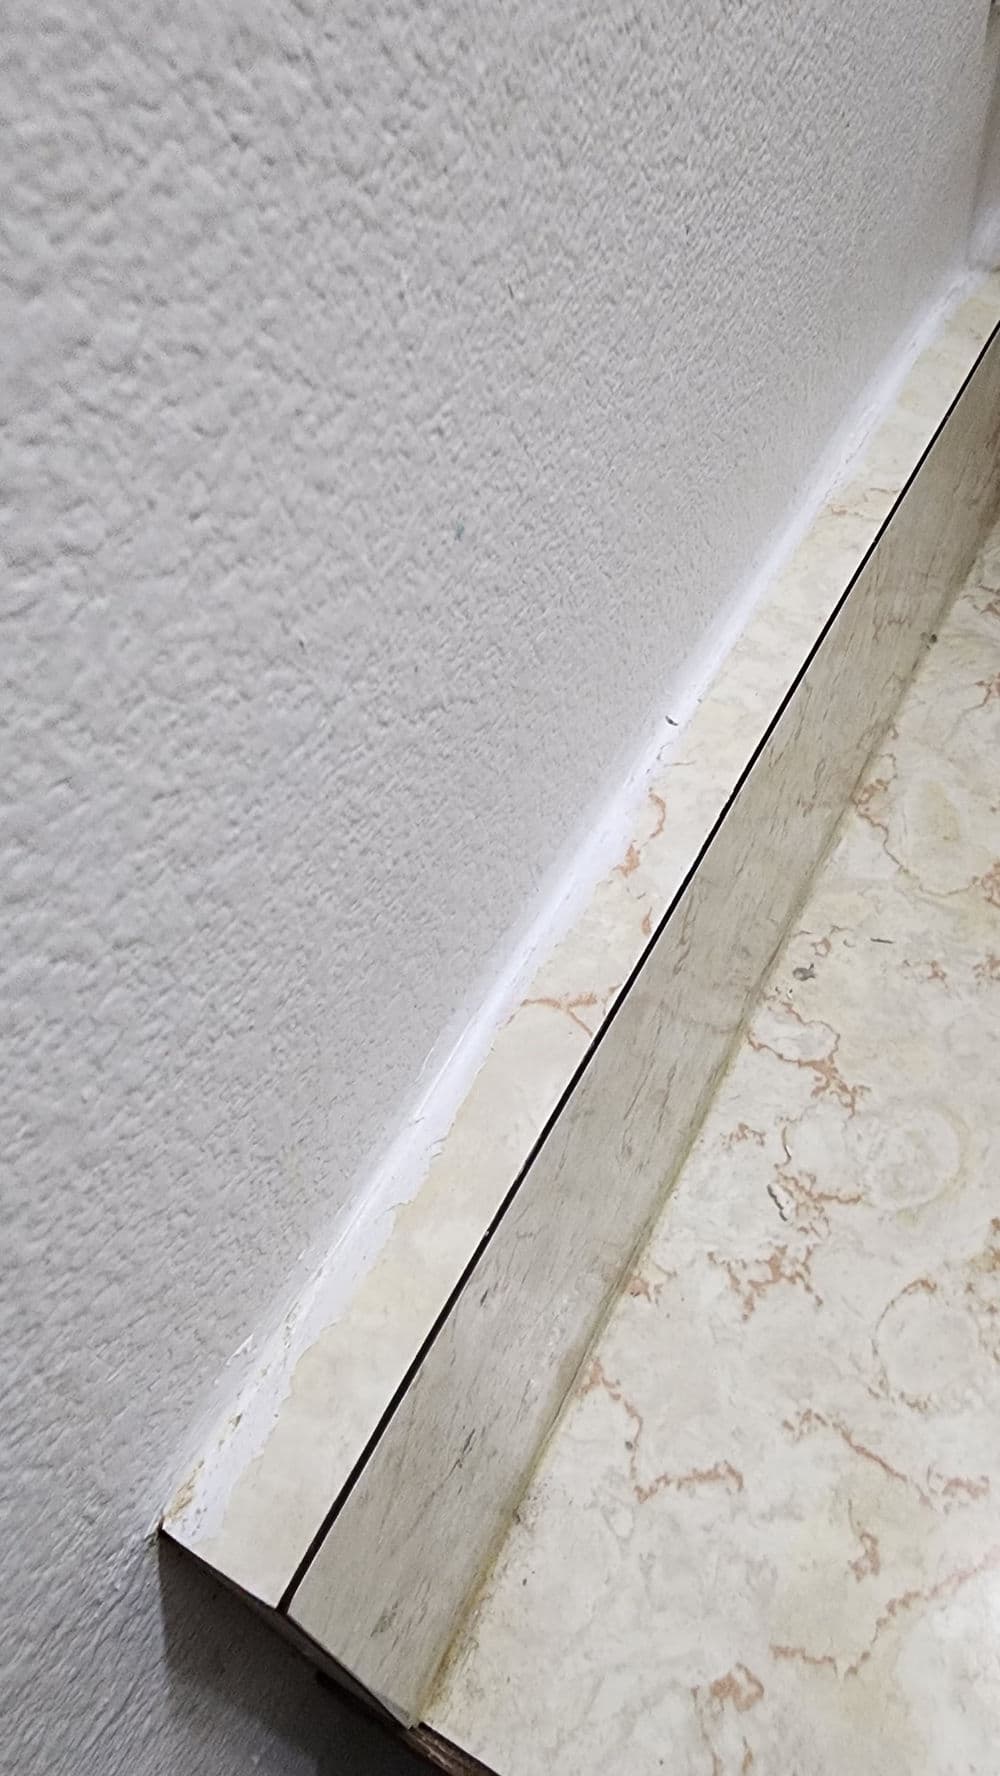
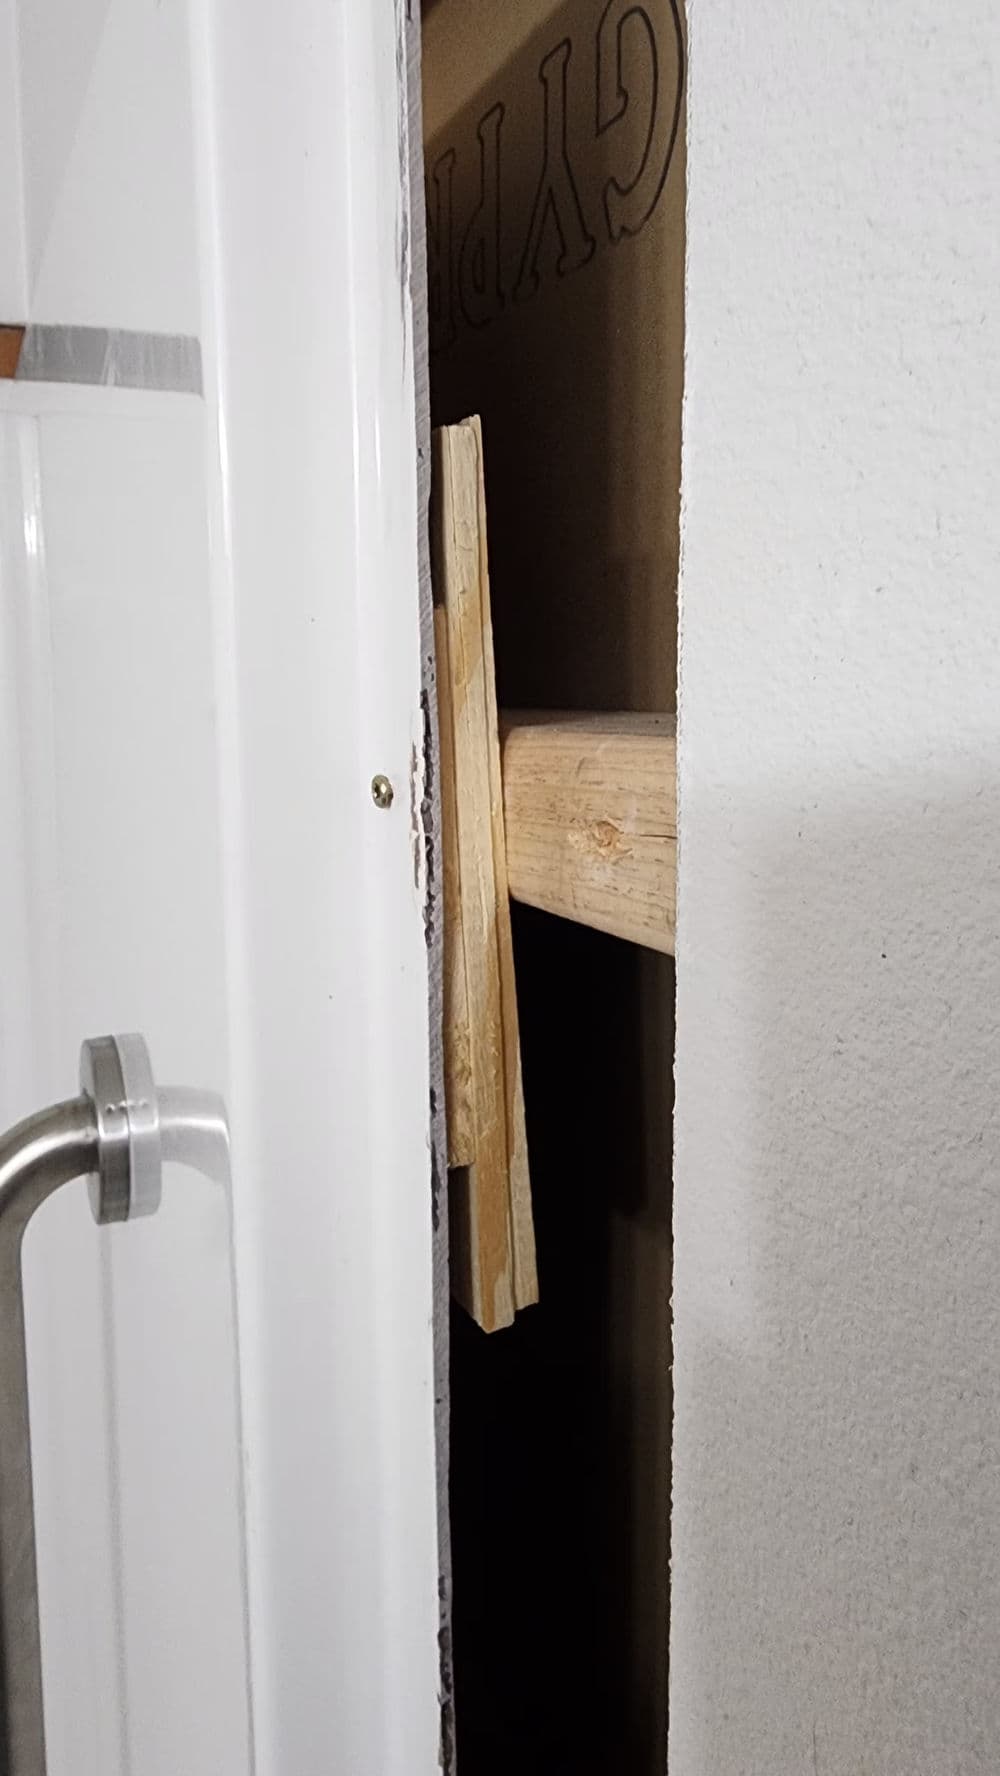
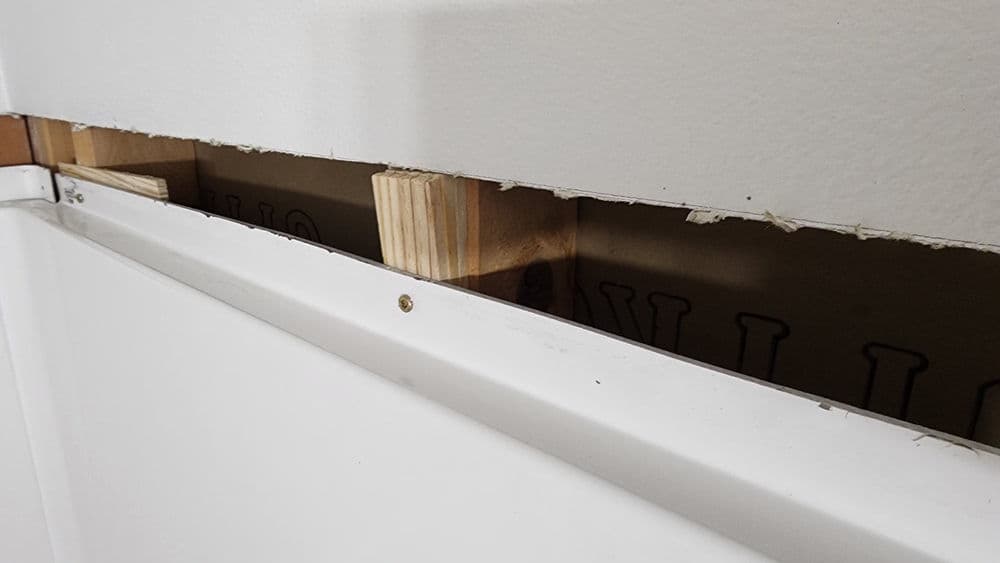
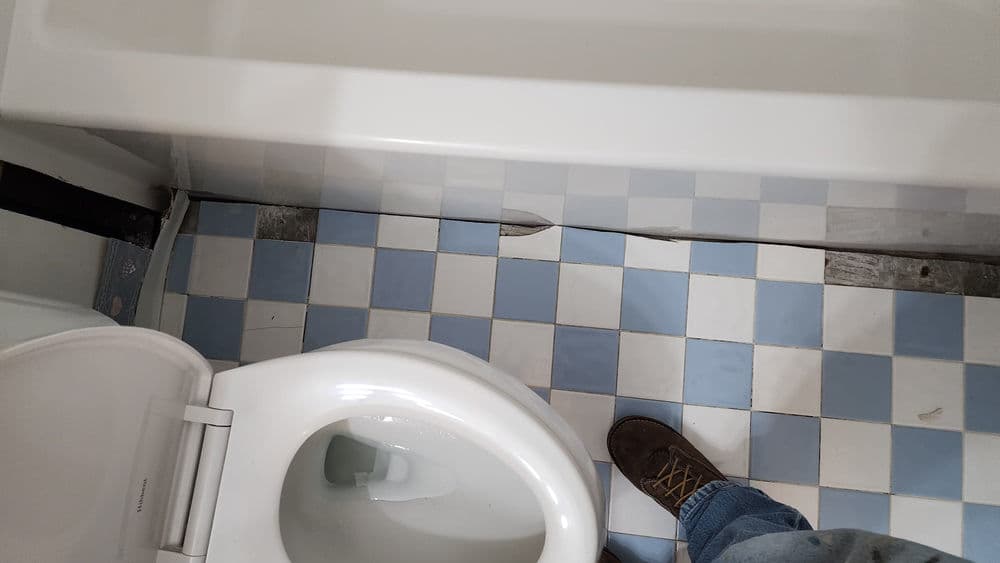
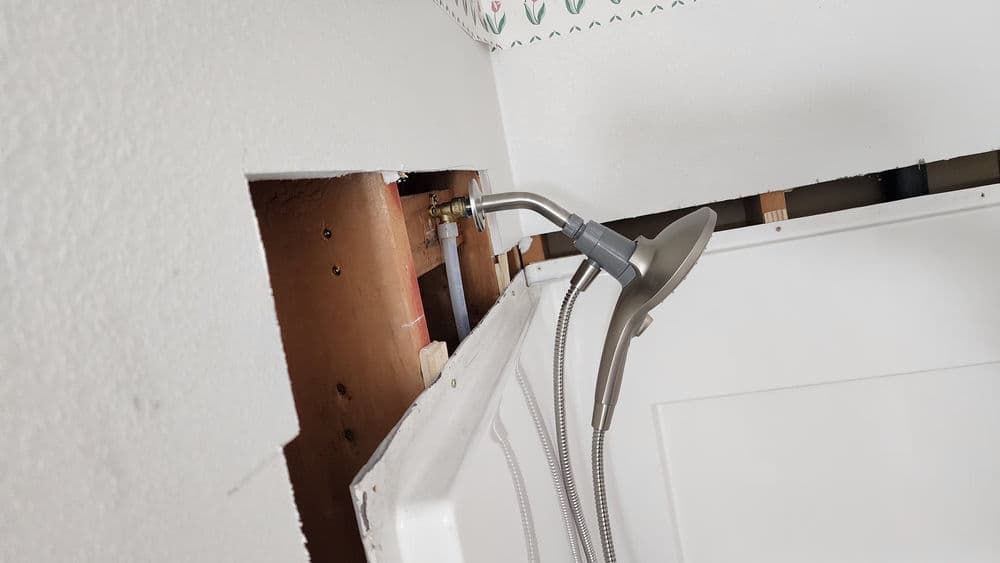
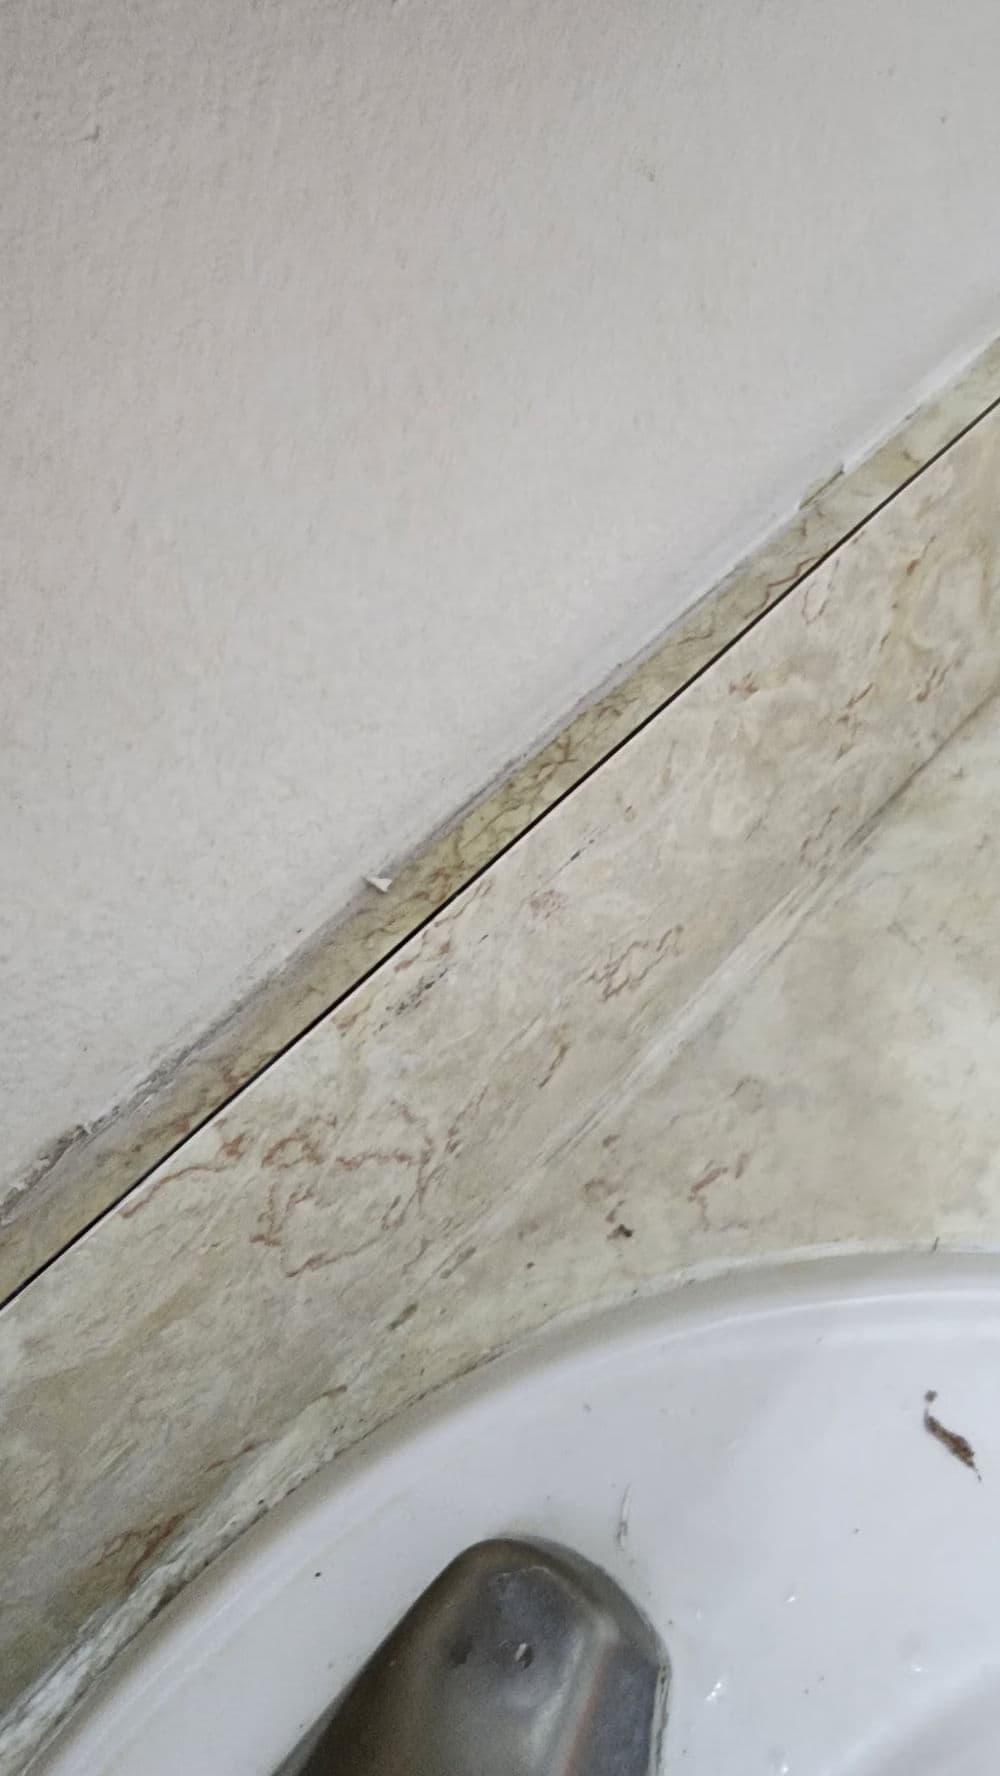
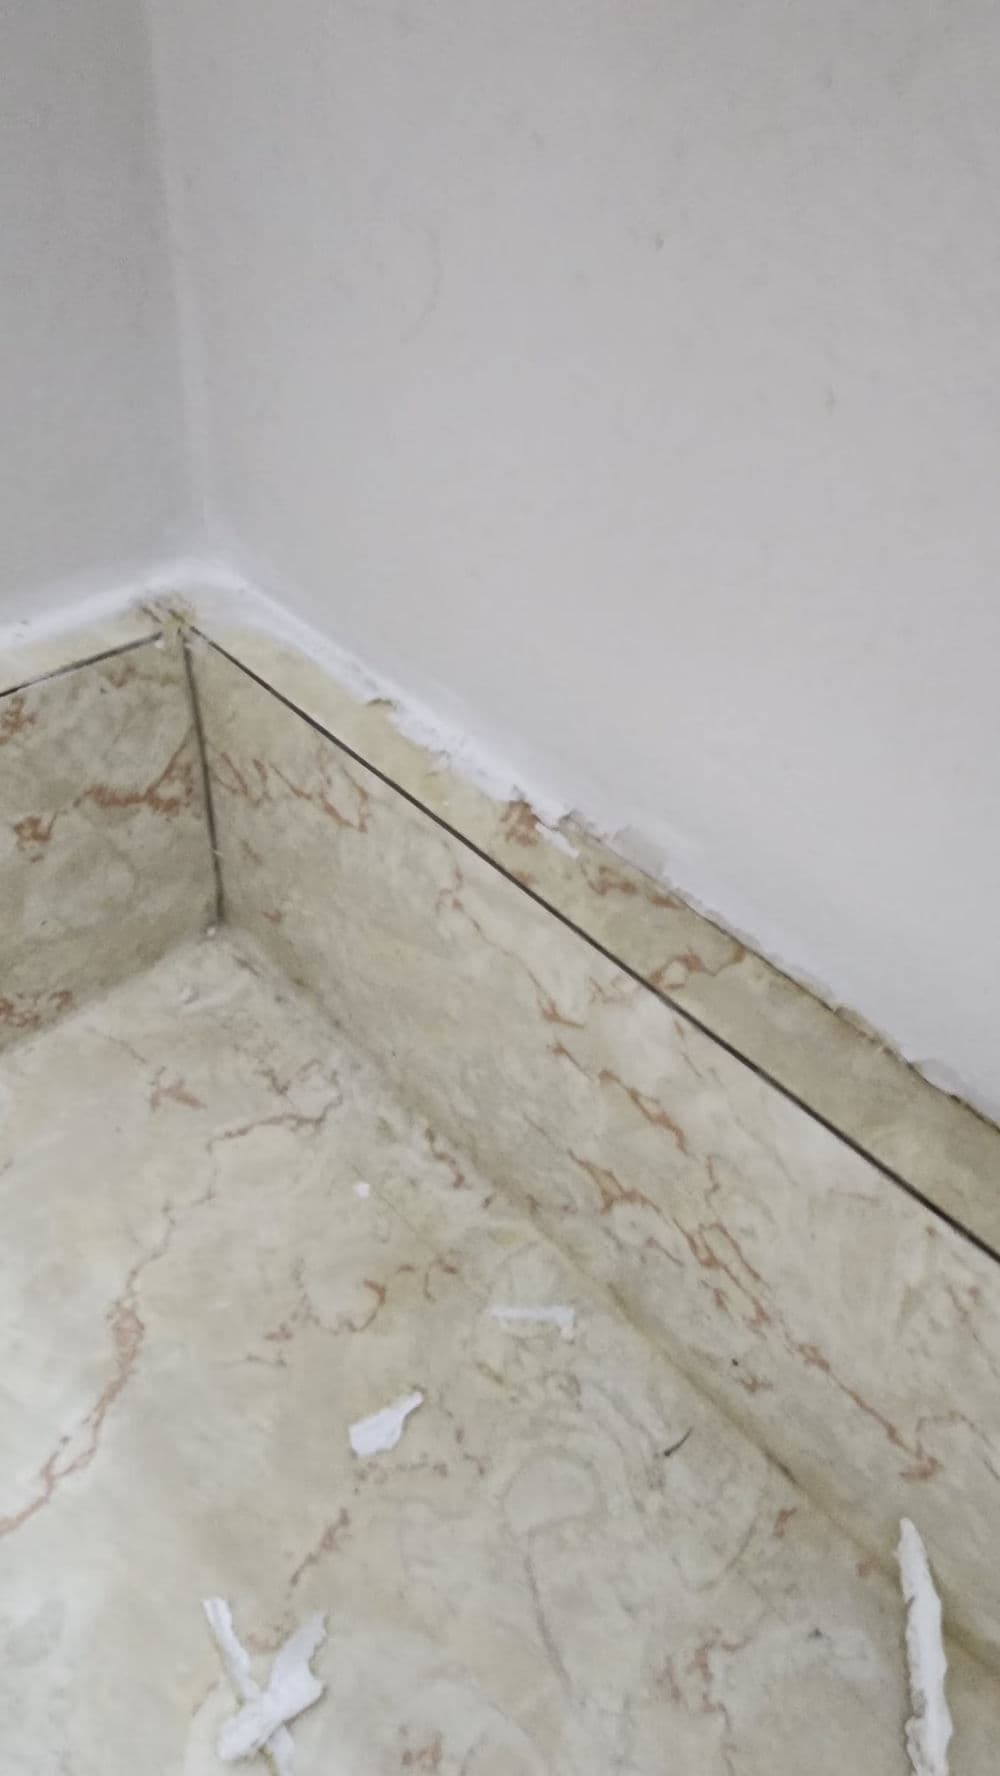
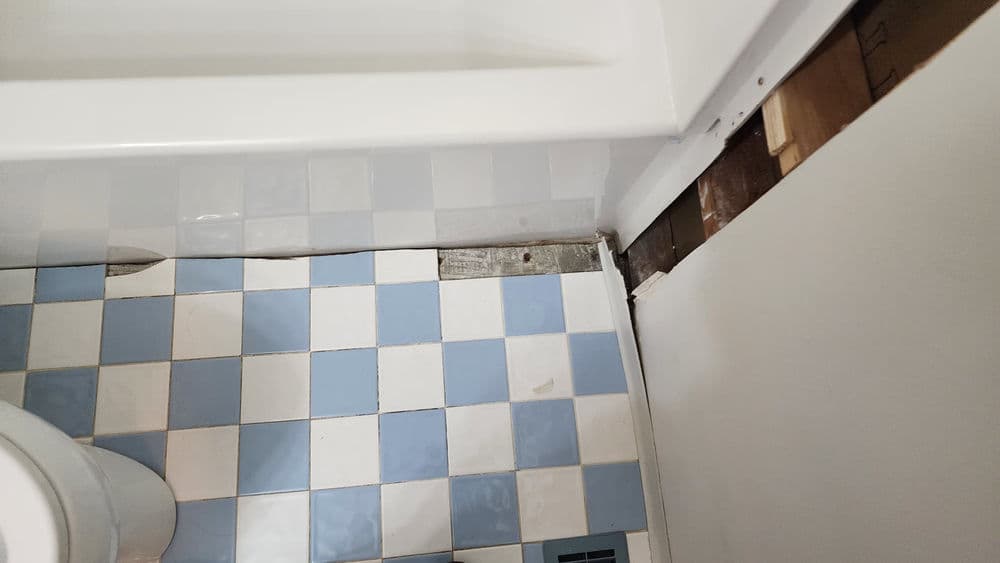
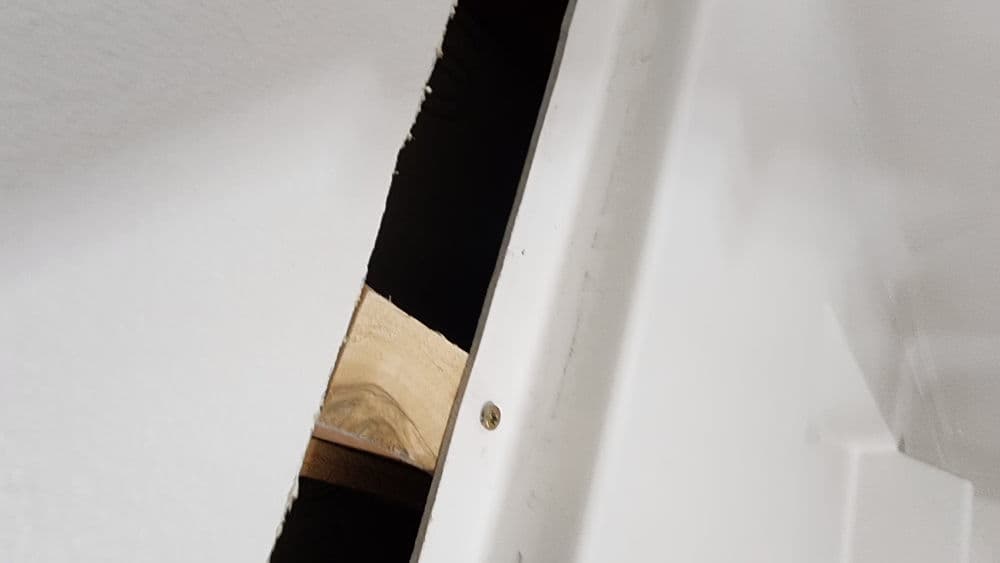
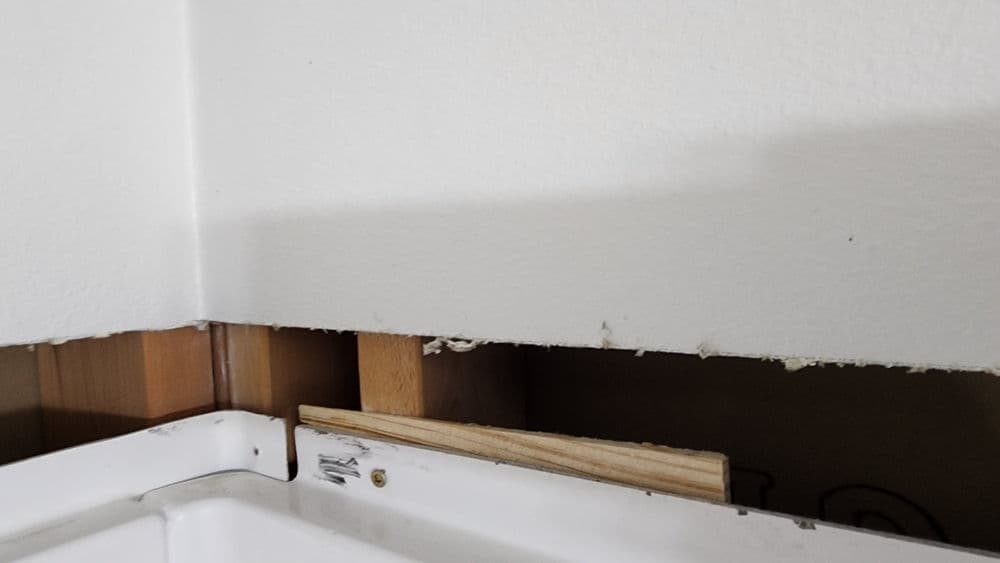
This one had a few layers to it. The existing tub surround had failed - gaps had opened up between the surround and the wall, exposing the framing and substructure behind it. Water had been working its way into those gaps for who knows how long. Before anything new could go in, we had to deal with what was hiding behind the old walls.

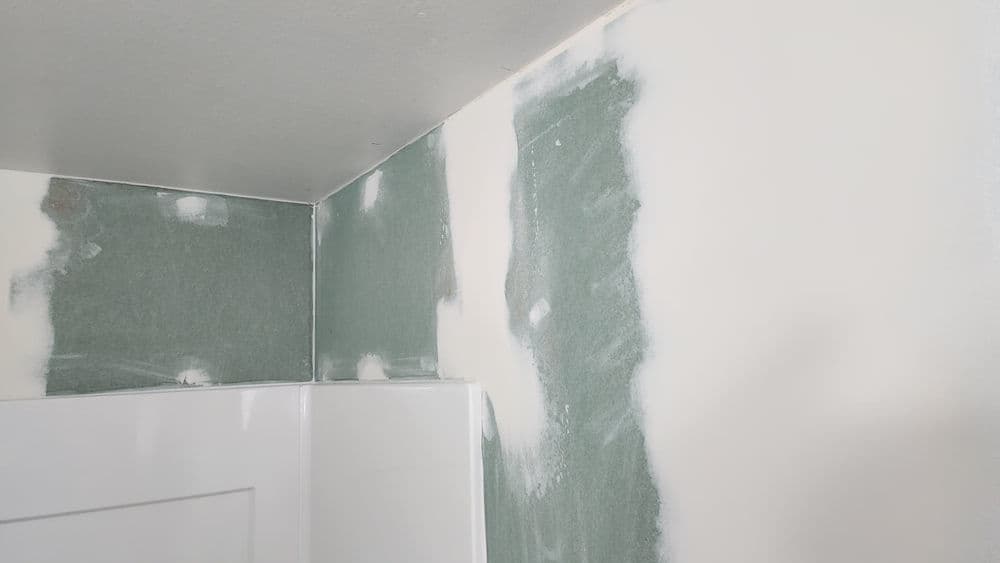
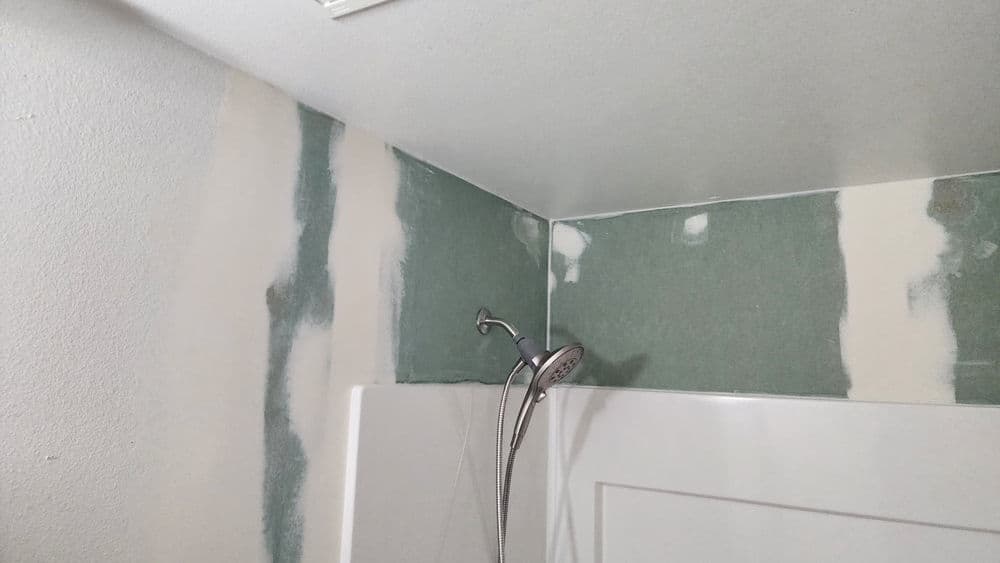
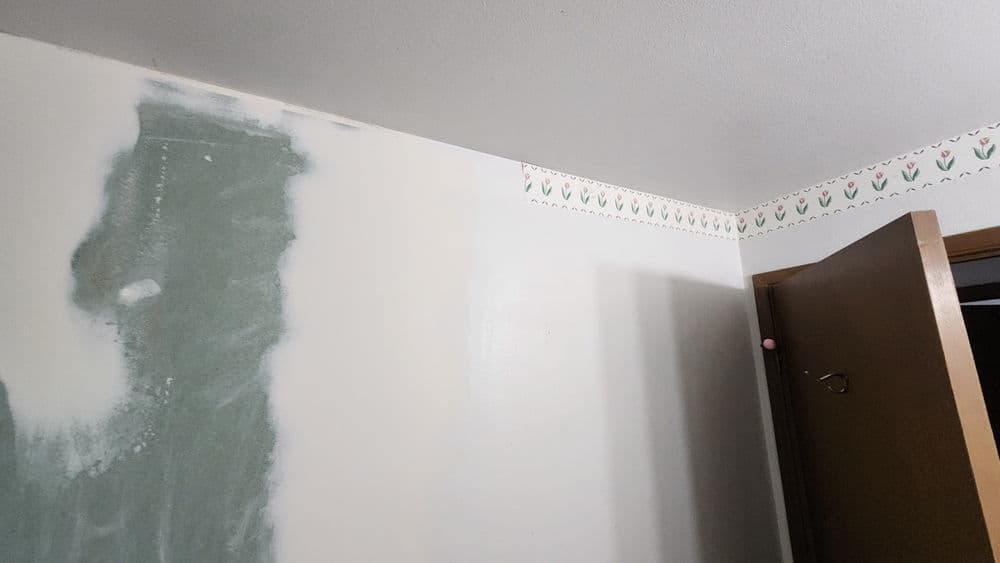
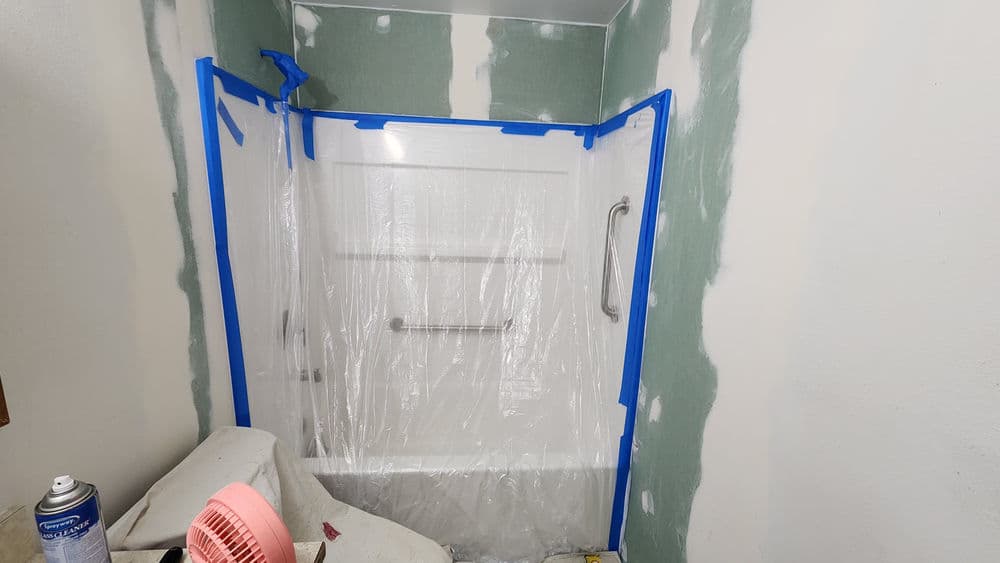
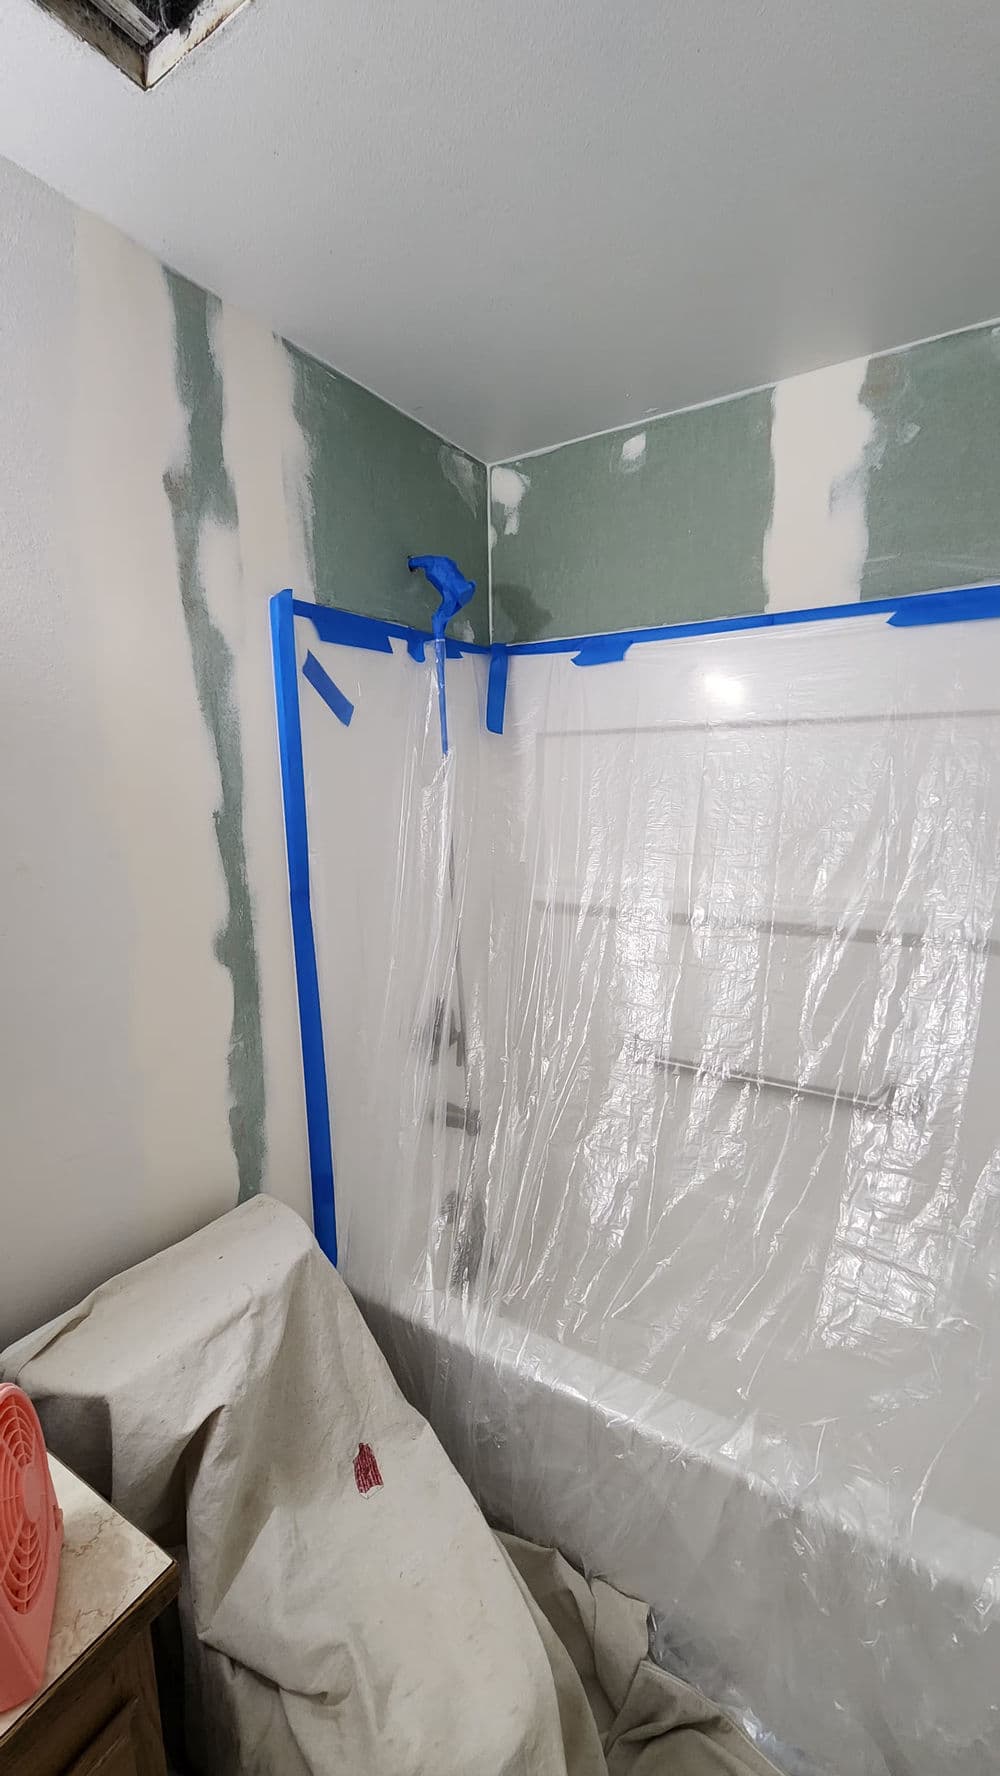
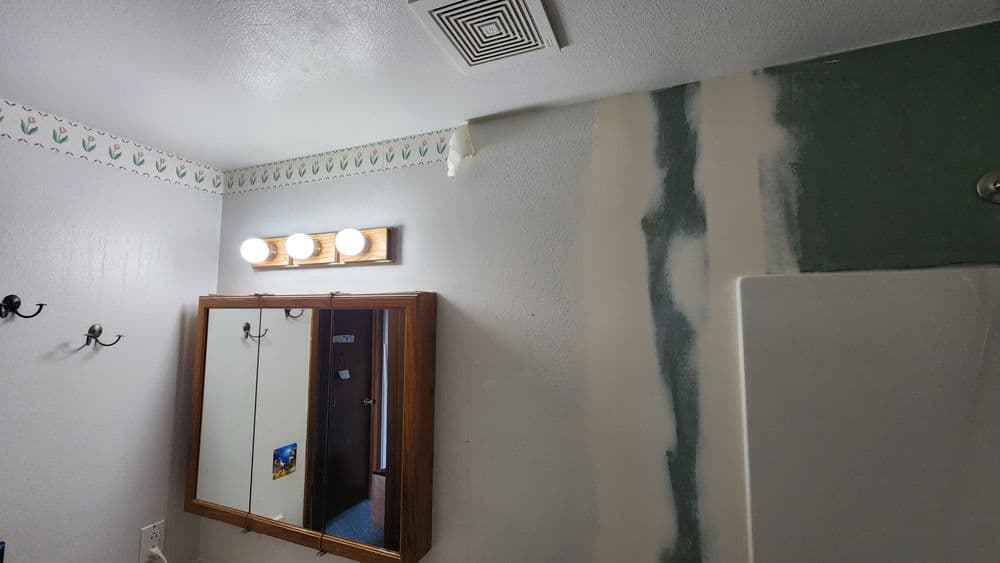
Once we got the old surround out, the scope got clearer. Drywall needed to come out and be replaced with moisture-resistant greenboard - the right material for a wet area like this. We patched, mudded, and taped everything carefully before moving forward. Protecting the new tub surround during that process was key, so we masked it off completely with plastic sheeting and blue tape to keep compound and paint off the finished surface.

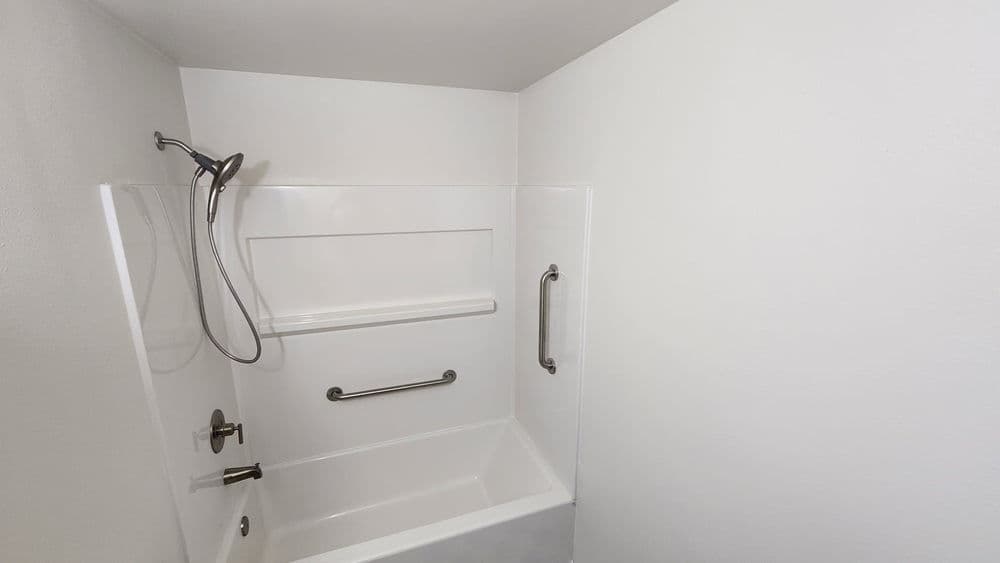
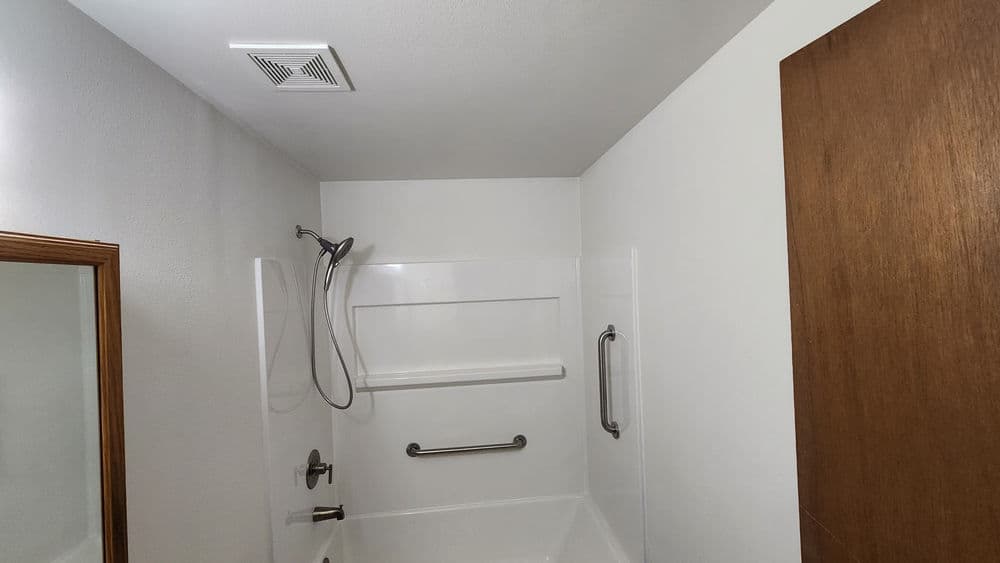
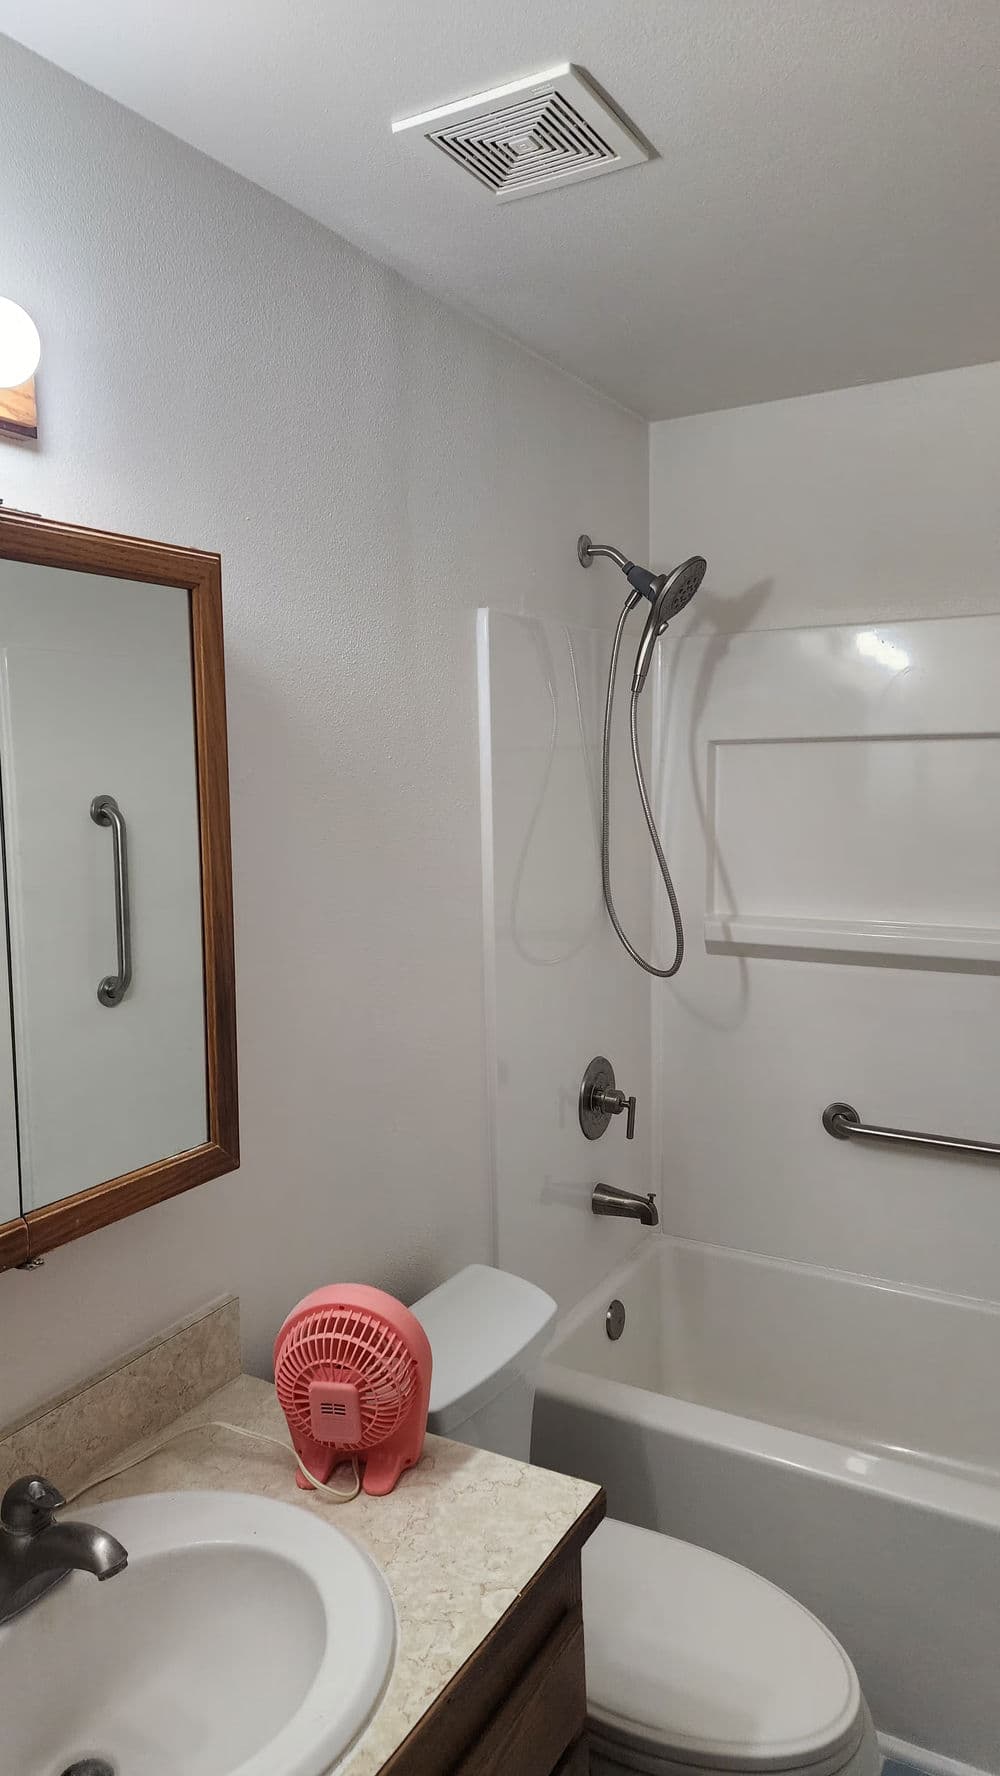
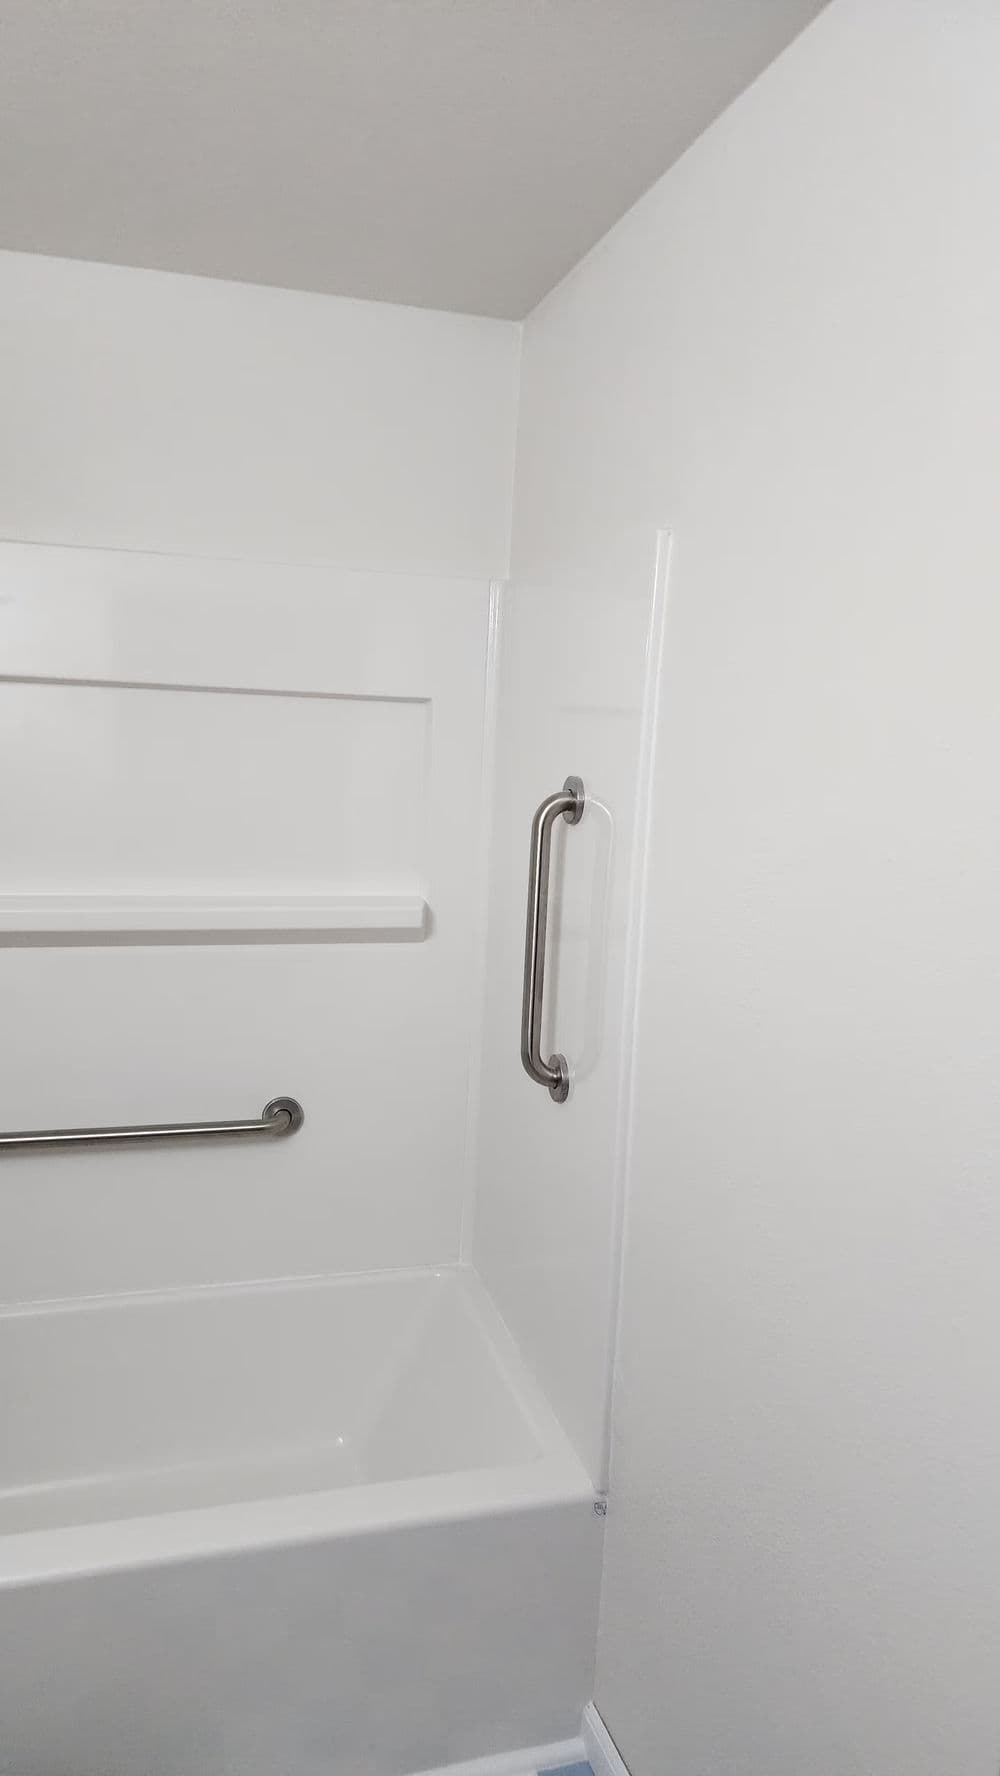
The new tub surround went in clean. We also installed grab bars in brushed nickel - both on the surround itself and on the adjacent wall. For a lot of homeowners on Bainbridge Island, that kind of accessibility feature is just as important as the aesthetics. It needs to look good and function safely, and both of those matter equally to us.

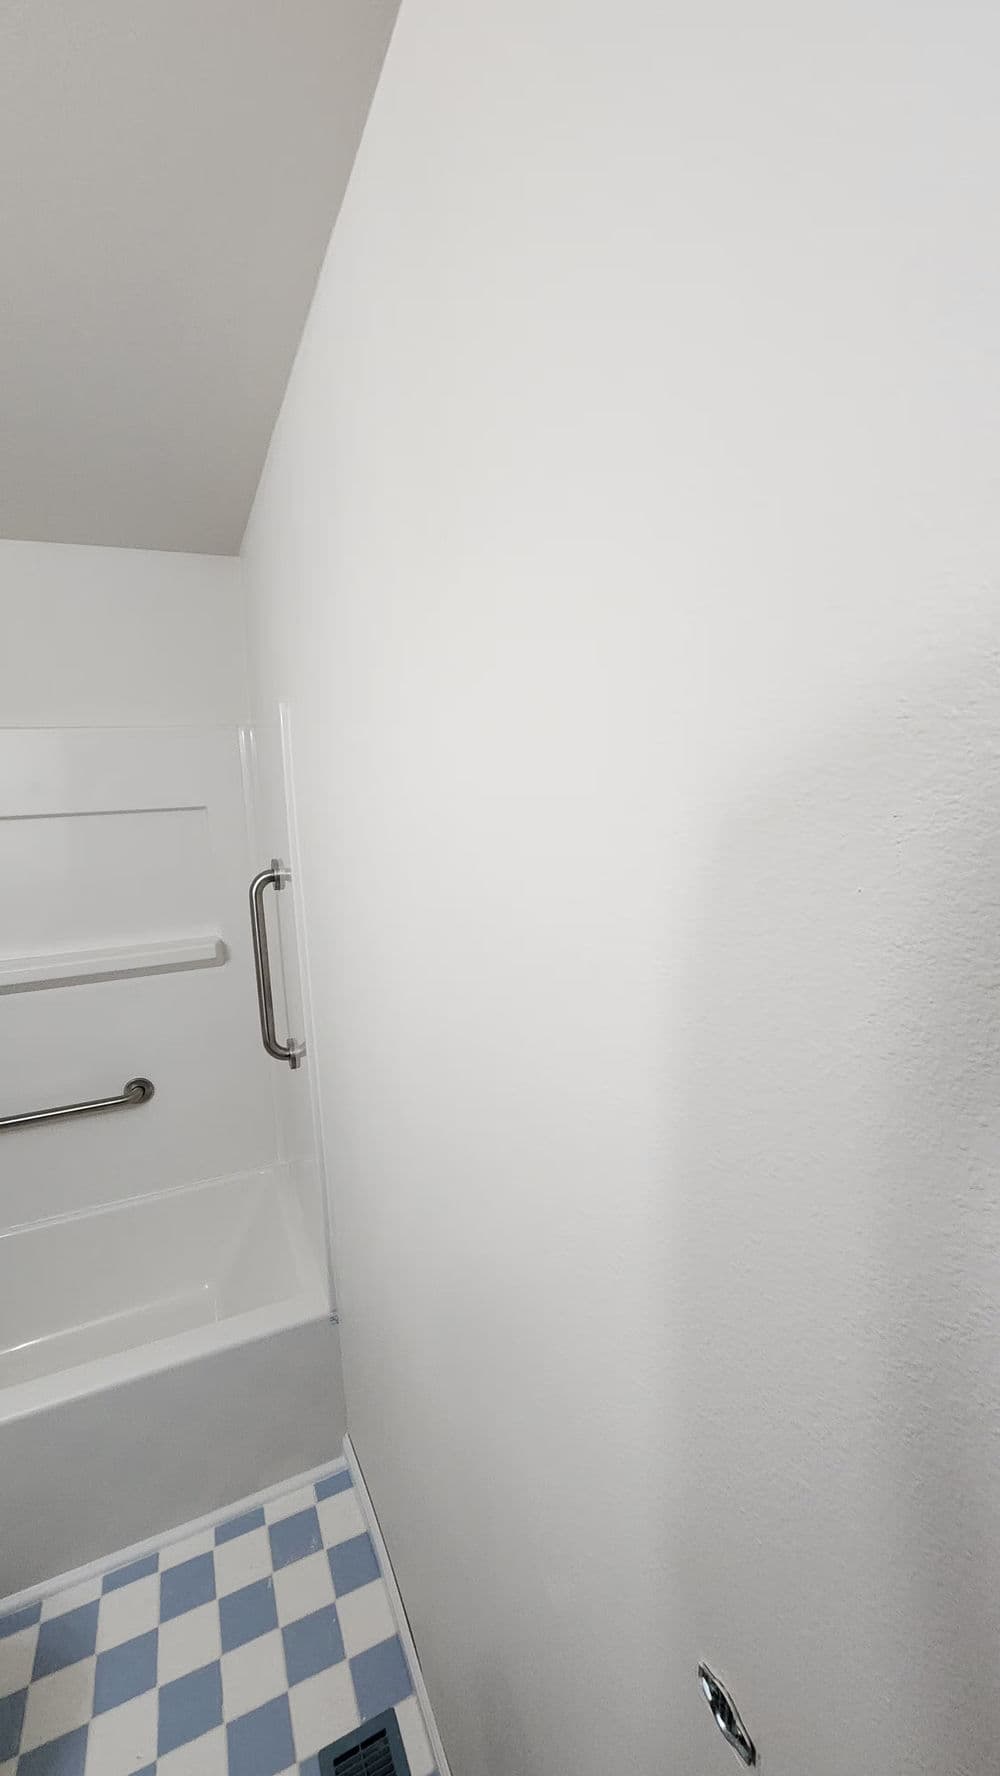
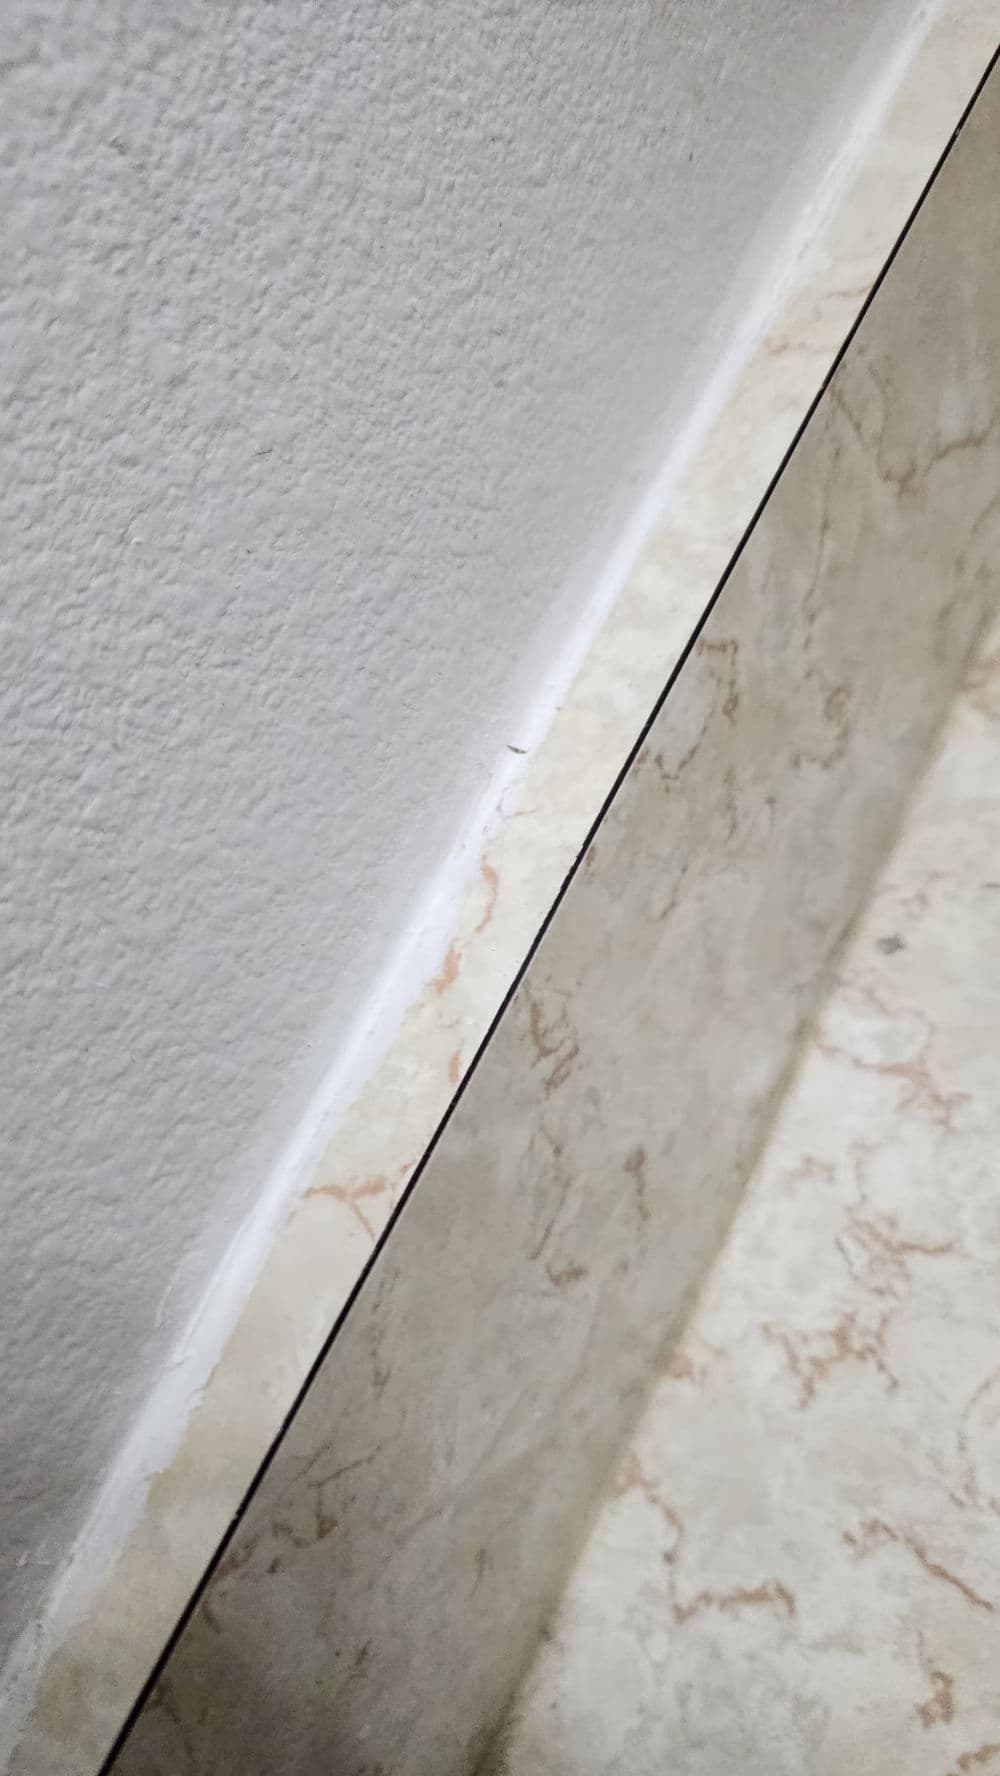
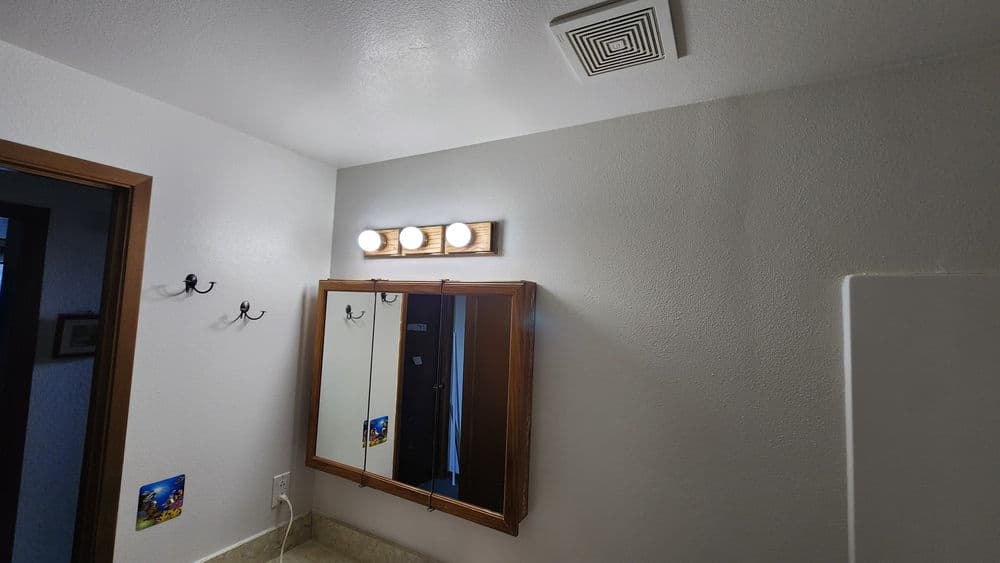
Painting was part of the scope too. The walls got fresh primer and paint after all the drywall work was done and dried. The before-and-after on the walls alone is significant - going from patchy greenboard and texture inconsistencies to a smooth, clean finish throughout the room. The wallpaper border that was still up on the upper walls gave us a clear line to work around and maintain a tidy edge.

Jobs like this are a good reminder that what looks like a simple tub surround swap often has more going on underneath. Skipping the drywall work or rushing the moisture barrier steps creates problems down the road. We do it right the first time so the next contractor doesn't have to come fix it.